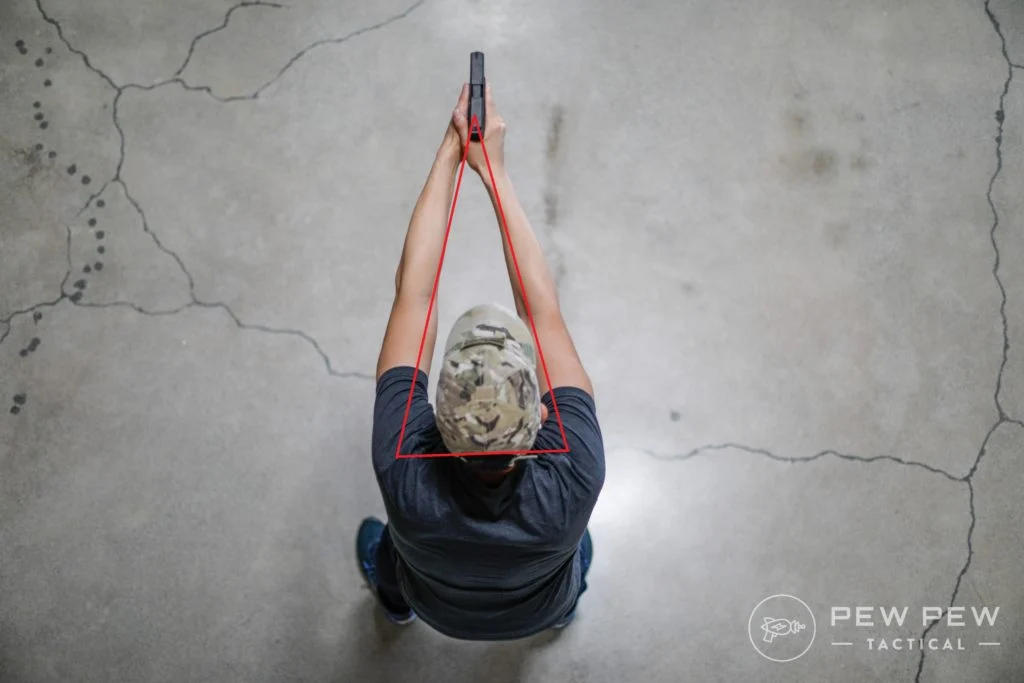
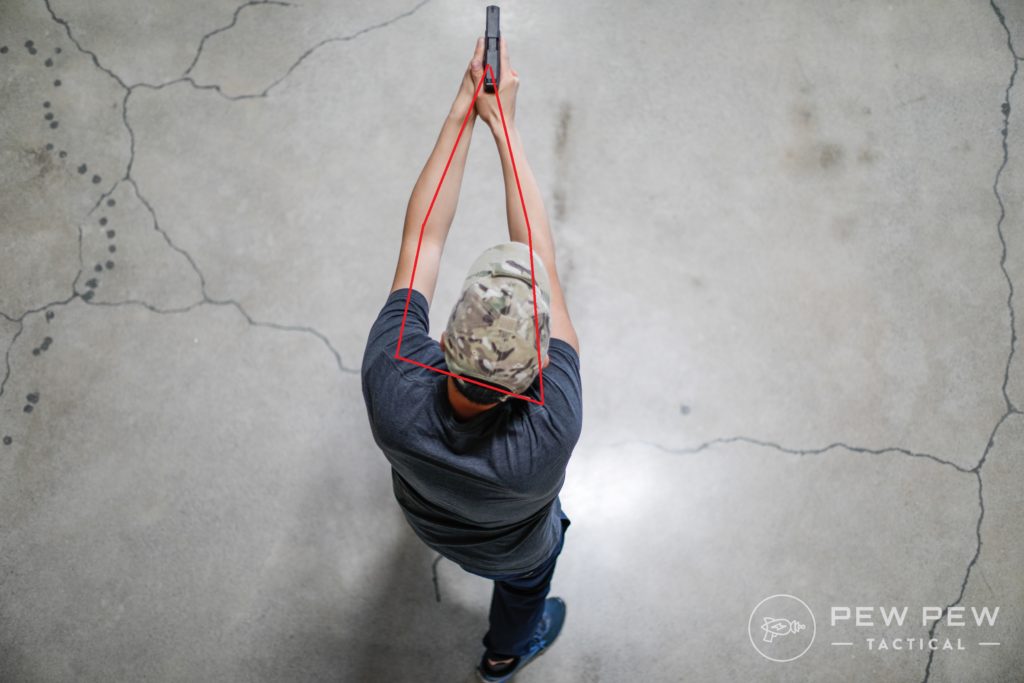
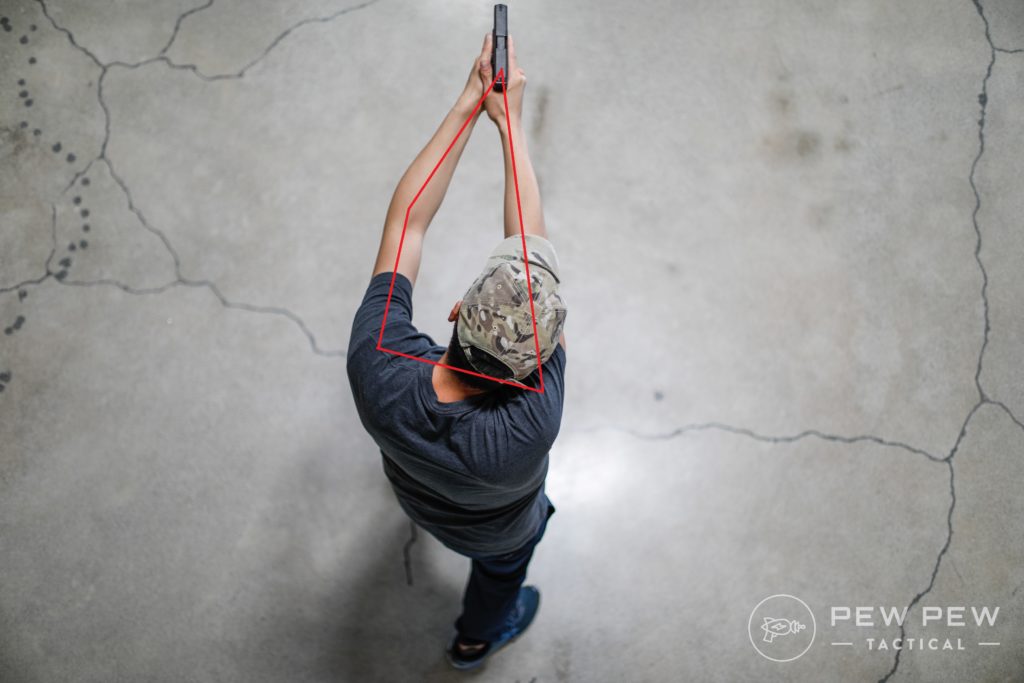
The isosceles stance gets its name from the arms and chest making an isosceles triangle. Kudos if you remember from geometry that isosceles means two sides are the same.
Isosceles Shooting Stance, Top
Configuration of Isosceles
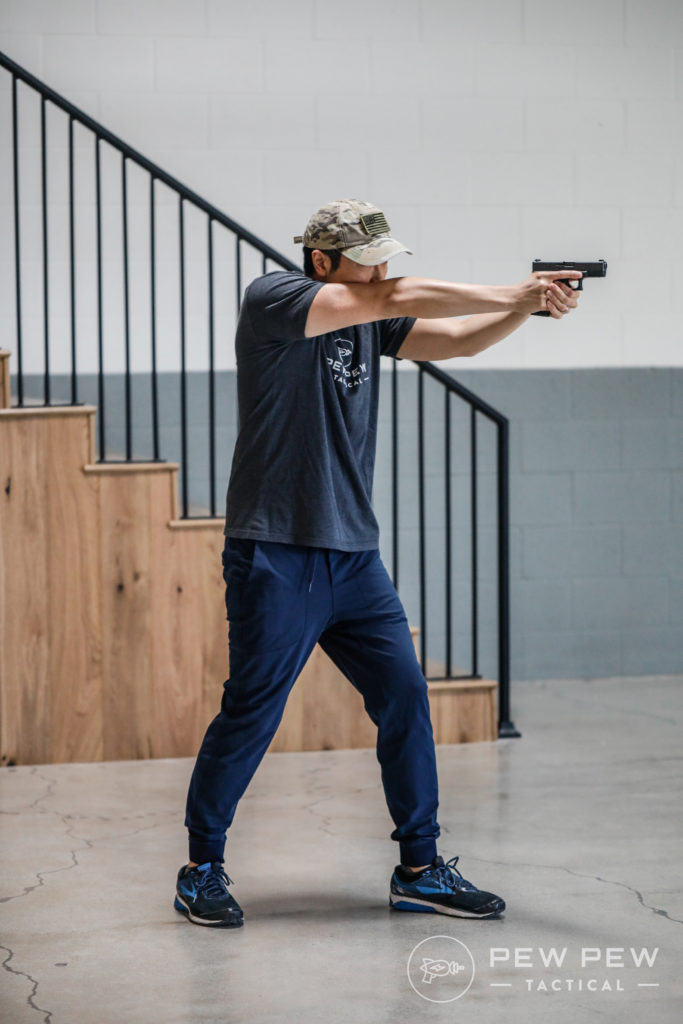
Shooter faces the target squarely, feet are shoulder-width (or slightly wider) apart with toes pointed at the target. Arms are full extended with the gun in the middle of the chest.
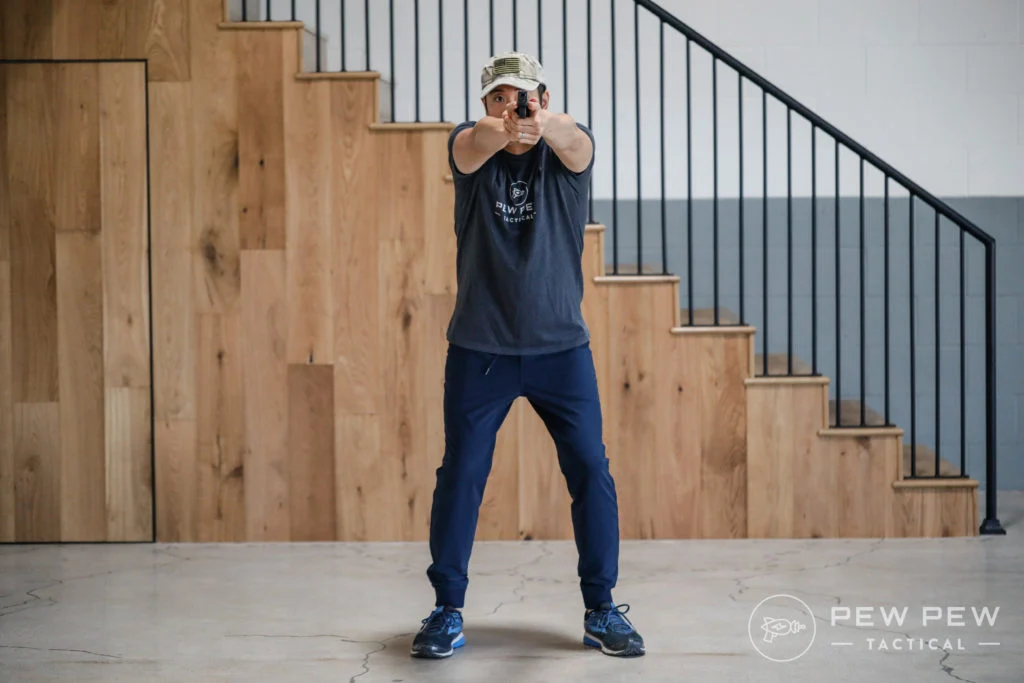
Isosceles Shooting Stance, Front
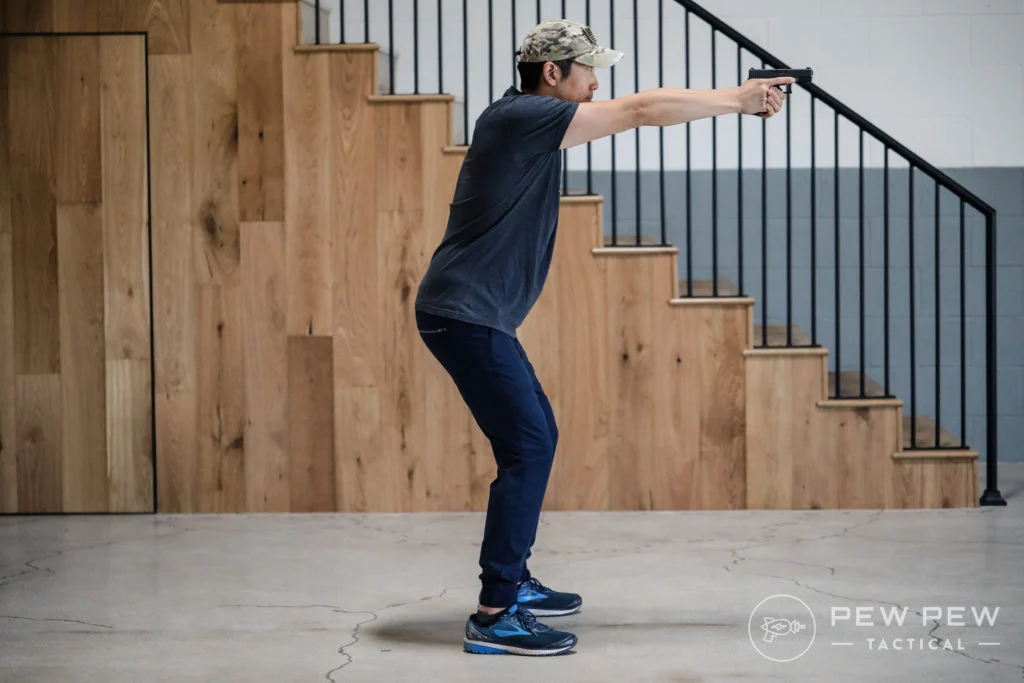
There’s a slight lean forward and some bending of the knees.
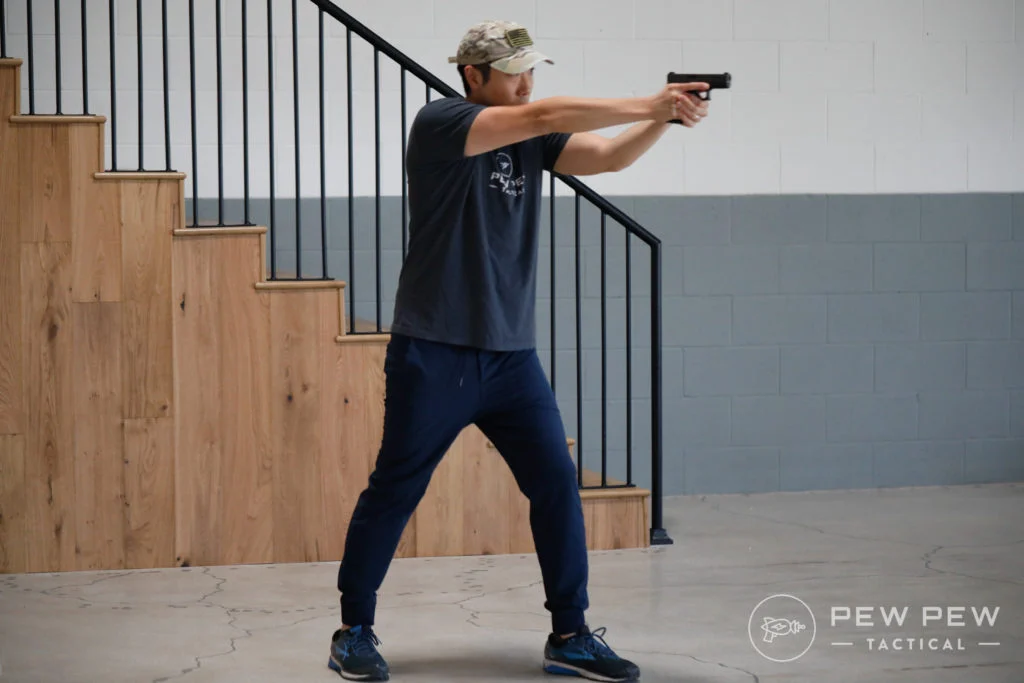
Isosceles Shooting Stance, Side
Pros of Isosceles Stance
Easier and more natural stance since you are merely “pointing” at the target.
The body acts like a turret for easy movement to side targets. This stance is very popular in shooting competitions for easy transitions to different targets.
Doesn’t really matter what eye dominance you are.
If wearing body armor, you are getting more protection since you are square to the target.
Cons of Isosceles Stance
Potentially less stable if you are pushed forward/backward (pretty stable for side to side), but this is minimized by bending your knees and putting your weight a little more forward.
If not wearing body armor, you are exposing a bigger target.
Weaver Stance
Developed in the 1950’s by LA County Sheriff Jack Weaver and since popularized by Jeff Cooper and his firearms school, Gunsite. The shooter is more at an angle to the target and the arms are bent.
Configuration
Non-dominant leg is forward of the dominant leg with a slight forward lean (“nose over toes”).
Toes are pointed forward and the firing-side arm is extended while the supporting arm is bent.
Weaver Shooting Stance, Side
The shooter employs a “push-pull” grip by pushing with the firing arm and pulling back with the supporting arm.
Weaver Shooting Stance, Top
Pros of Weaver Stance
Smaller profile to target (“blading” your body”)
Better recoil management with the push-pull method
More stable since the feet are now staggered. Natural stance if you need to balance yourself.
Cons of Weaver Stance
Harder to rotate to your non-dominant side since you feel like you’re binding yourself up. For example, the Gun site instructor above would have a harder time rotating to his left.
Harder for cross-dominant shooters (eg right hand dominant and left eye dominant) since the two are now no longer matched up.
If in body armor, you expose your side which normally isn’t armored.
Modified Weaver Stance (Chapman Stance)
Pioneered by competitive shooter Ray Chapman. Very similar to the Weaver Stance except your shooting arm is fully locked out with the support arm bent downwards.
Configuration
Same as Weaver Shooting Stances above except the shooting arm is fully extended, almost like a rifle stock.
Chapman Shooting Stance, Top
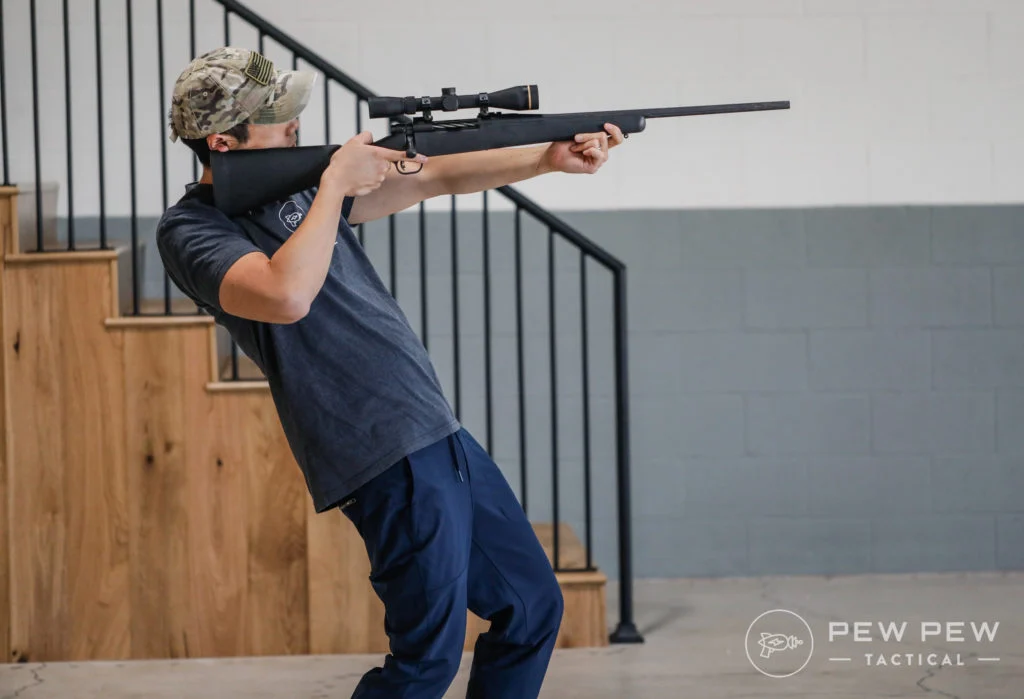
Some shooters will also create a cheek-weld on their upper arm (like me)
Chapman Shooting Stance, Side
Pros of Chapman Stance
All of the Weaver Stance
Consistency of your arm “stock” and “cheek-weld” to be always the same, instead of hovering in the air with the Isosceles or Weaver.
Better recoil management since the firing arm is fully extended
Better for crossed-eye dominant shooters since by having a cheek-weld, the opposite eye is more in line with the firearm
Cons of Chapman Stance
All of the Weaver Stance minus cross-dominant shooting
Might strain the neck muscles
Verdict of the Best Stance
Another of my standard answers…it depends on what you like best and your application.
You can choose based on what comes more naturally to you, if you want to compete in shooting sports later, or if you have eye dominance issues. And in many cases, what your instructor prefers when you take a firearms class (you are going to take a class right?).
I prefer the Chapman stance because of our crossed-eye dominance issues.
Chapman Shooting Stance, Side
I also like the feeling that my “rifle-stock” is always the same. And even though I do some competitive shooting, I don’t really see the moving side-to-side binding issue that much. But don’t take my word for it…try different shooting stances out for yourself!